Keeping air ducts and vents clean is essential for a healthy and comfortable home environment. But how exactly do you do it? In this article, we’ll provide a step-by-step guide on how to clean your air ducts and vents properly. From understanding the importance of regular maintenance to learning how to effectively clean your air ducts and vents, this article will provide you with all the information you need to ensure your air is always fresh and clean.
What tools are needed for cleaning air ducts and vents?
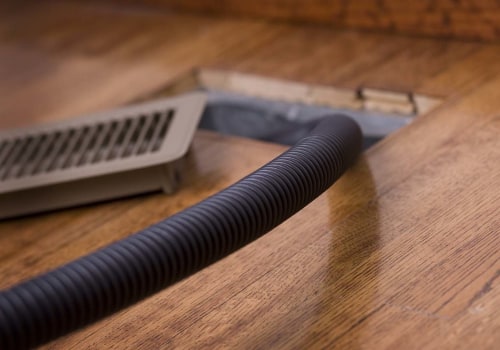
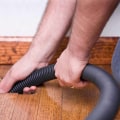
You’ll need a vacuum with a hose attachment, a dust mask, safety glasses, a ladder, and a brush or other cleaning tool.Once you have all the necessary tools, it’s time to prepare for the cleaning process. Make sure to turn off the power to your air duct system before starting. This will ensure that no one gets hurt while you’re working.
How to prepare for cleaning air ducts and vents
Make sure to turn off the power to your air duct system before starting. This will ensure that no one gets hurt while you’re working.Step-by-step process for cleaning air ducts and vents
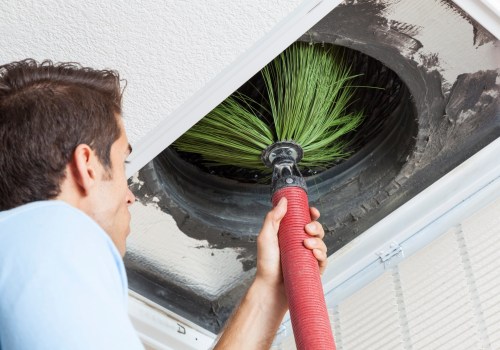
Start by using your vacuum cleaner to remove any dust or debris from the inside of your air ducts.Make sure to also vacuum around the edges of the vent openings. After vacuuming, use a brush or other cleaning tool to scrub away any stubborn dirt or debris that may be stuck on the walls of your ducts. Lastly, use a damp cloth to wipe down any remaining dirt or dust on the walls of the ducts.
Tips for proper air duct cleaning
Make sure to wear a dust mask while working on your air ducts and vents to protect yourself from dust particles. Also, don’t forget to turn off the power before starting your work.And finally, don’t forget to put all of your tools away when you’re finished cleaning.
Benefits of regularly cleaning air ducts and vents
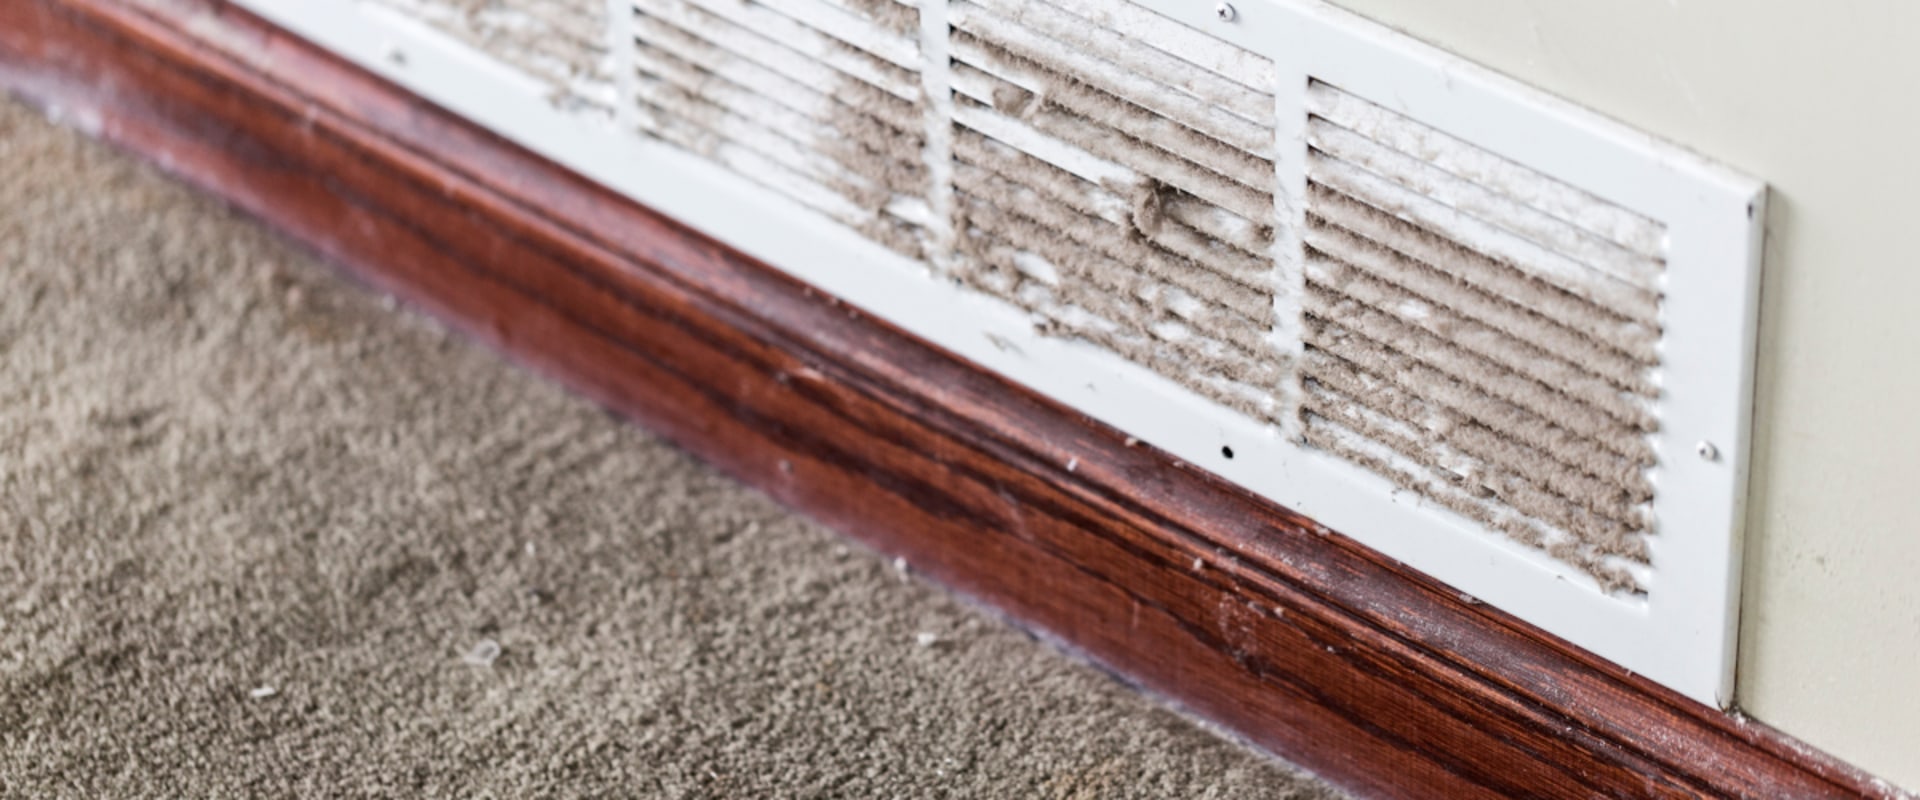
Regularly cleaning your air ducts and vents can have numerous benefits. It can help improve indoor air quality by removing dust and other particles from the air, reduce allergens in your home, and help extend the life of your HVAC system by keeping it free from dirt and debris.Benefits of Regularly Cleaning Air Ducts and Vents
Regularly cleaning air ducts and vents comes with numerous benefits. First, it helps to improve the air quality within your home or building. By removing dust, dirt, and other debris, you can ensure that the air you and your family breathe is as clean as possible.This can be especially important for people with allergies or asthma. In addition, regular cleaning of air ducts and vents can also help to reduce energy costs. When dirt and debris build up in the ducts, it can restrict airflow and force your HVAC system to work harder to maintain the desired temperature. Keeping your air ducts clean will help ensure that your HVAC system is running efficiently and using less energy. Finally, regularly cleaning your air ducts and vents can help extend their lifespan. By removing built-up dirt and dust, you can help keep these essential parts of your home or building in good condition for longer.
What Tools Are Needed?
When it comes to cleaning air ducts and vents, it is important to have the right tools for the job.The most essential tool you’ll need is a vacuum cleaner with a hose attachment. This will allow you to reach deep into the ducts and remove any dust or debris. Additionally, it is important to have a brush that is specifically designed to clean air ducts, as this will help you to loosen any stubborn dirt. Other helpful tools include a flashlight, safety goggles, protective gloves, and an extension wand.
When it comes to supplies, you’ll need some basic items such as rags, old towels, and garbage bags. You may also need a cleaning solution depending on the amount of dirt or debris in your air ducts. Be sure to use a non-toxic cleaner that won’t damage your air ducts or create hazardous fumes. It is also important to have a ladder and other equipment necessary to reach the higher air ducts in your home. Make sure you are using the appropriate ladder for the job, and always be sure to follow safety precautions.
Tips for Proper Air Duct Cleaning
Regularly cleaning your air ducts and vents is essential for maintaining a safe and healthy indoor environment.To ensure that you do it properly, there are several important tips to keep in mind.
1.Use the Right Equipment
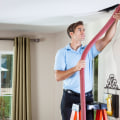
The most important step in air duct cleaning is to use the right equipment. Make sure to use a vacuum cleaner with a long, flexible hose attachment that can reach all of the ducts and vents. You should also have an air compressor on hand to blast away any stubborn dirt and debris.2.Wear Protective Clothing
When cleaning your air ducts and vents, it is important to wear protective clothing, such as gloves, a face mask, and a long-sleeve shirt.This will help protect you from any harmful particles that may be present in the air ducts.
3.Vacuum Systematically
When vacuuming your air ducts and vents, it is important to do it systematically. Start by vacuuming the main trunk line first, then move on to the smaller branches. This will ensure that no dust or dirt is left behind.4.Inspect Regularly
Once you have cleaned your air ducts and vents, it is important to inspect them regularly. Look for any signs of damage or wear and tear, as well as any potential blockages or obstructions.If any issues are found, it is important to contact a professional for assistance.
5.Change Filters Often
It is also important to change the air filters in your system regularly. This will help to ensure that your air ducts and vents remain clean and free from dust and dirt.How to Prepare for Cleaning Air Ducts and Vents
Cleaning air ducts and vents can be a daunting task, but with proper preparation, you can ensure a successful outcome. Before you begin, it's important to assess the area and the type of materials you will be working with. Here are a few tips for getting started:Check your tools. Make sure you have all the necessary tools and supplies for the job.This includes things like a vacuum cleaner, brushes, and cleaning solutions. You may also need additional equipment like ladders or scaffolding depending on the size and layout of the area.
Clear the space.
Remove any furniture or objects that may get in the way or be damaged during the cleaning process. This includes items like curtains, rugs, electronics, and any other items that may be in the vicinity.Wear protective gear.
Wear gloves, eye protection, and other appropriate safety gear to protect yourself from dust and debris. It's also important to make sure that your work area is well-ventilated so you don't inhale any of the particles.Test your equipment.
Before starting the cleaning process, make sure all of your tools are in working order.This includes testing out your vacuum cleaner and making sure it is properly connected to an outlet.
Follow safety protocols.
Make sure you follow all safety protocols while cleaning air ducts and vents. This includes things like avoiding small spaces, using caution when working with dangerous cleaning solutions, and taking regular breaks to avoid overexertion.Step-by-Step Process for Cleaning Air Ducts and Vents
Cleaning air ducts and vents is an essential part of keeping your home safe and healthy. Dust and dirt can build up in your air ducts over time, leading to poor air quality and potential health risks. It’s important to regularly clean your air ducts and vents to ensure that the air you breathe is clean and safe.This step-by-step guide will walk you through the process of cleaning your air ducts and vents. Here’s what you need to do:Step 1: Prepare Your ToolsBefore you start cleaning, make sure you have all the necessary tools for the job. You’ll need a vacuum cleaner with a hose attachment, a ladder, a brush, and a pair of gloves.
Step 2: Turn Off the Power
Before you begin cleaning, make sure the power is turned off to the furnace.This will help prevent any accidents while you’re working.
Step 3: Vacuum the Vents
Using your vacuum cleaner with the hose attachment, start vacuuming the air vents. Make sure to get into all the nooks and crannies. Vacuum until all the dust and dirt has been removed.Step 4: Use a BrushOnce you’ve finished vacuuming, use a brush to scrub away any stubborn dirt or debris that might still be stuck in the vents.
Step 5: Clean the Blower Fan
Once you’ve finished cleaning the vents, turn your attention to the blower fan. Use a vacuum cleaner to remove any dust or dirt from the fan blades, then use a brush to scrub away any remaining debris.Step 6: Reassemble Your Furnace
After you’ve finished cleaning, reassemble your furnace and turn the power back on.Step 7: Check Your WorkOnce everything has been reassembled, take a few minutes to check your work. Make sure all the parts are in place and that there are no signs of dust or dirt remaining in the vents. Cleaning your air ducts and vents is an important part of keeping your home safe and healthy. With the right tools, preparation, and step-by-step process, you can make sure that your air ducts are free from dirt and debris. Regularly cleaning your air ducts and vents provides a number of benefits, such as improved indoor air quality and better energy efficiency.
By following these simple steps, you can ensure that your air duct system remains in good condition for years to come.