Having a clean dryer vent is essential for preventing safety hazards and fire risks in your home. But it's not always easy to keep up with the regular maintenance that this important task requires. Fortunately, dryer vent cleaning is a straightforward process that anyone can complete in a few simple steps. In this article, we'll provide a comprehensive guide to help you understand the importance of dryer vent cleaning and how to complete the job yourself. Although it may seem daunting, don't be intimidated by the thought of cleaning your dryer vent.
With the right tools and a bit of patience, you can easily clean your vent yourself. Keep reading to learn more about the process and how to make sure that your dryer vent is as safe and efficient as possible!Dryer vent cleaning is an important maintenance task that should not be overlooked. It helps protect your home from potential fire hazards and can also help reduce energy costs.
Why is dryer vent cleaning important?
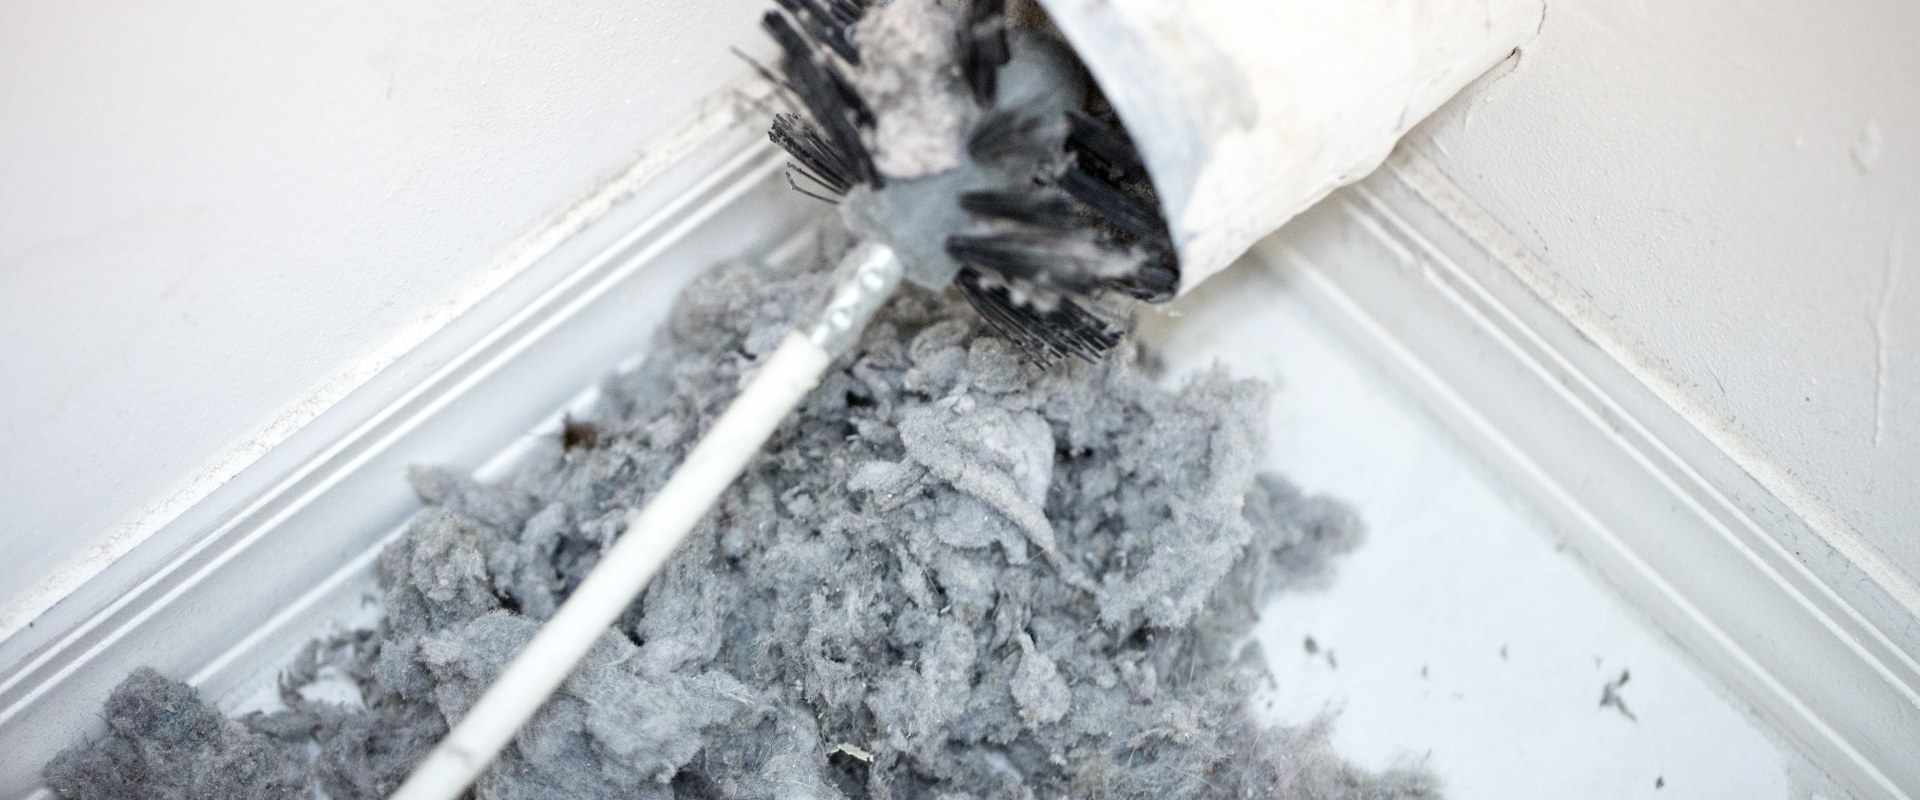
Without proper maintenance, lint and debris can build up in the dryer vent, creating a fire hazard.Additionally, a clogged dryer vent will cause the dryer to work harder, resulting in higher energy costs.
Types of Dryer Vents
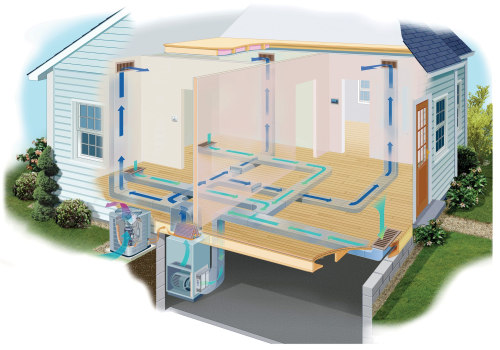
There are several different types of dryer vents, including flexible metal ducts, solid metal ducts, and plastic or vinyl ducts. Flexible metal ducts are the most common type and are the easiest to clean. Solid metal ducts are more durable, but harder to clean.Plastic or vinyl ducts are easier to install but also harder to clean.
Step-by-Step Guide for Cleaning a Dryer Vent
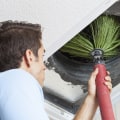
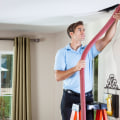
Here is a step-by-step guide on how to properly clean a dryer vent: Step 1 – Unplug the dryer from the power source.Step 2
– Disconnect the dryer vent hose from both the wall and the dryer.Step 3
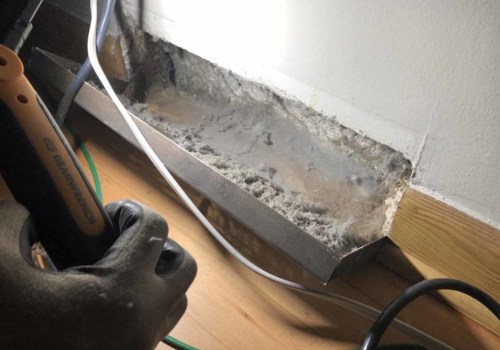
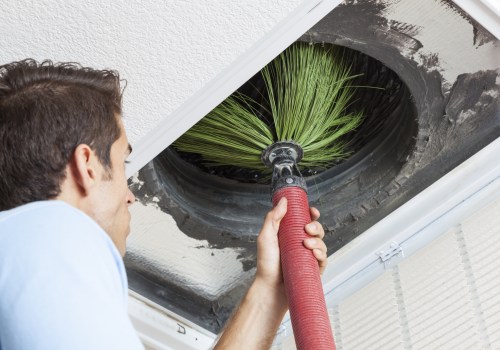
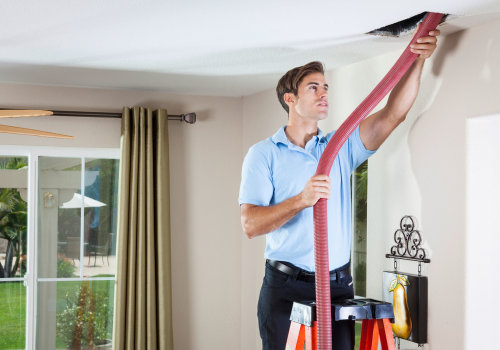
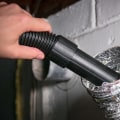
– Clean out any lint or debris from the vent hose with a vacuum cleaner and/or brush.Step 4 – Check the walls for any lint that may have accumulated over time. If necessary, use a vacuum cleaner to remove any lint or debris.
Step 5
– Reconnect the dryer vent hose and plug the dryer back into the power source.Safety Precautions
Before beginning any cleaning process, it is important to take safety precautions.Be sure to unplug the dryer from the power source before starting the cleaning process. Additionally, use proper safety equipment such as gloves, goggles, and dust masks to protect yourself from any potentially hazardous materials.
Additional Steps to Prevent Future Build Up
To prevent future build up in the dryer vent, it is important to regularly inspect the outside of the vent for lint or debris and periodically check the inside of the vent for any blockages. Additionally, it is important to regularly clean out the lint trap after each use.Common Problems That May Arise from Not Cleaning the Dryer Vent Regularly If the dryer vent is not cleaned regularly, several issues may arise. The most common issue is that the dryer will take longer to dry clothes as it has to work harder due to an obstruction in the air flow. Additionally, lint and debris can accumulate in crevices in the wall, creating a fire hazard.
Common Problems
Not cleaning the dryer vent regularly can result in a number of problems.A buildup of lint and debris in the dryer vent can cause a fire hazard and reduce the efficiency of the dryer. If the dryer vent is too long, or has too many bends, it can also cause a decrease in airflow, resulting in longer drying times and higher energy bills. In addition, if the vent is blocked, it can cause more heat to stay in the dryer, increasing the risk of a fire. Regular cleaning of the dryer vent is important to avoid these potential problems.
A professional should be hired to inspect and clean the vent every two years, or more frequently if it is particularly dirty or difficult to access.
Safety Precautions
Before you begin cleaning your dryer vent, it is important to take certain safety precautions. Make sure you turn off the gas or electricity to the dryer before beginning any cleaning and unplug the machine from the outlet. Remove any combustible items from the room and check for any gas leaks. Wear protective clothing such as gloves, goggles, and a dust mask when cleaning the dryer vent.When cleaning your dryer vent, use a vacuum cleaner with a long hose attachment to reach the vents behind the dryer. Do not use any chemical cleaners or solvents as they could be dangerous if inhaled or cause a fire hazard. Also, avoid using an extension cord to power your vacuum cleaner as this could be a fire hazard. After you have finished cleaning the dryer vent, make sure you remove all debris from the area and clean up any dust or dirt that may have been stirred up during the process. Additionally, check to ensure that all connections are secure and that the dryer is free of lint or other debris.
Types of Dryer Vents
When it comes to dryer vent cleaning, it's important to know the type of dryer vent you have in your home. There are two main types of dryer vents: rigid metal ducts and flexible plastic or metal foil ducts. Both types of vents should be inspected and cleaned regularly. Rigid metal ducts are typically made of aluminum or galvanized steel.They are typically used in long runs from the dryer to the exterior of the home. These ducts are more durable than the flexible plastic or metal foil vents, but they can be more difficult to install and may need to be replaced more often. Flexible plastic or metal foil ducts are more commonly used in shorter runs from the dryer to the exterior of the home. They are easier to install, but they are not as durable as the rigid metal ducts and may need to be replaced more often.
It's important to inspect both types of dryer vents regularly and make sure they are clear of any lint buildup or other debris that could cause a fire hazard. If there is any damage or buildup, it's best to replace the vent with a new one.
Preventative Measures
Regular dryer vent cleaning is an important preventative measure to take to ensure that your dryer is operating safely and efficiently. In addition to regular cleaning, there are a few other steps you can take to help prevent future build up in the dryer vent. The first step is to make sure that the vent is properly installed and connected. To avoid air leaks, check the seal between the dryer and the wall to make sure it is tight.Additionally, make sure the vent is not kinked or blocked. If you have an outside dryer vent, make sure the lint trap cover is in good condition and free of any debris. It's also important to clean the lint trap after every load of laundry. The lint trap should be cleaned with a vacuum cleaner before being placed back in the dryer. This will help reduce the amount of lint that gets into the vent and build up over time. Finally, consider investing in a quality dryer vent cleaning kit.
These kits typically include a vacuum attachment, a brush, and other tools to help you clean your vent. Cleaning your dryer vent regularly with these kits can help prevent future build up and keep your dryer running more efficiently.
Cleaning Process
Dryer vent cleaning is an important maintenance task that should be done regularly. It not only helps protect your home from potential fire hazards, but it can also help reduce energy costs. To ensure your dryer vent is properly cleaned and maintained, you should follow these steps:Step 1: Disconnect the DryerThe first step in cleaning your dryer vent is to disconnect the dryer from the wall outlet.This will also help protect you from any shocks or electrocution. Be sure to turn off the power source to the dryer before unplugging it.
Step 2: Clean the Lint Trap
Once the dryer is unplugged, you should then clean out the lint trap. This can be done by using a vacuum cleaner or a brush and dustpan. Be sure to remove all of the lint from the lint trap, as this can be a potential fire hazard.Additionally, you should also check the exhaust vent for any signs of lint build-up.
Step 3: Clean the Vent Pipe
Next, you will need to clean the vent pipe that connects the dryer to the exterior of your home. Be sure to remove all of the lint from the vent pipe and check for any signs of clogs or blockages.Step 4: Inspect and Clean the Exhaust Vent
Once the vent pipe is cleaned, it is time to inspect and clean the exterior exhaust vent. This can be done by using a brush and dustpan or a vacuum cleaner. Be sure to remove all of the lint from the exterior exhaust vent and inspect for any signs of blockages.Step 5: Inspect and Clean the Interior Ducts
Finally, you should inspect and clean the interior ducts that lead from the dryer to the exterior exhaust vent.This can be done by using a flashlight and a vacuum cleaner. Be sure to inspect for any signs of clogs or blockages, as these can cause your dryer to overheat and create a potential fire hazard.
Step 6: Reassemble and Test Your Dryer
Once you have finished cleaning your dryer vent, it is important to reassemble it and test it out. This will ensure that your dryer is working properly and that there are no potential fire hazards. Be sure to check that all of the connections are secure before turning on the power source. The importance of regular dryer vent cleaning cannot be overstated.Not only is it essential for safety, but it can also save you money in energy costs. By following the steps outlined in this article, you can ensure that your dryer vent is clean and running efficiently. Regular dryer vent cleaning helps reduce the chance of a fire, eliminates odors, and improves the efficiency of the dryer. Additionally, taking preventive measures such as regularly checking the outside vent cover and installing a dryer vent filter can help keep your dryer vent clean and running smoothly.